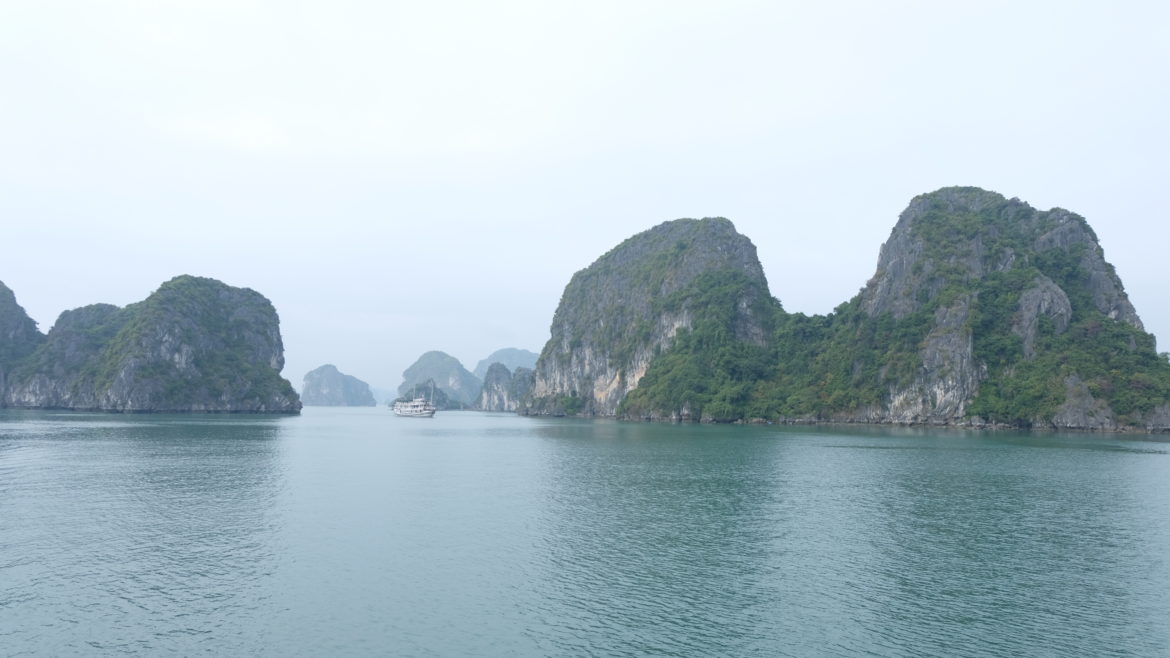
If you’re planning to visit Thailand, Laos and Vietnam, but you’re short on time, you can follow this itinerary which I came up with for an 11-day trip with my cousins. I don’t usually travel this quick (being a digital nomad, I like to travel slow), but one of my cousins only had 11 days leave so I had to fit everything into this short schedule. We also visited UNESCO World Heritage Sites in those 3 countries.
OVERVIEW:
- 3 Days in Thailand (2 Days in Bangkok and 1 Day in Ayutthaya)
— Historic City of Ayutthaya – UNESCO World Heritage Centre - 4 Days in Laos
— Town of Luang Prabang – UNESCO World Heritage Centre - 4 Days in Vietnam
— Ha Long Bay – UNESCO World Heritage Centre
We planned for this trip just a couple of months before.. so if you want to travel next month, know that it can be done even on short notice 😉
A quick note before we start..
There are 5 UNESCO World Heritage sites in Thailand, 2 in Laos, and 8 more in Vietnam. We didn’t visit all of them in this itinerary. What we did was visit at least one for each country.
Itinerary by Day
Day 1: Arrive in Bangkok
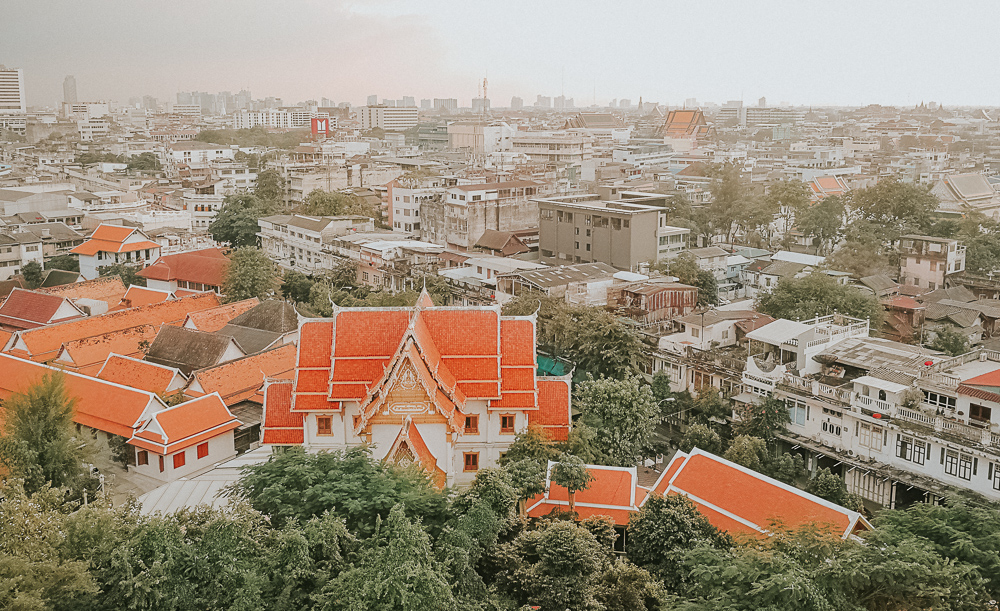
Bangkok – A blend of old and new, traditional and modern
Choose a flight that arrives in Bangkok in the morning, so you have time to explore the rest of the day. Ask your hostel/hotel if you can check in early. If the room is not yet available, just ask to leave your bags. I’ve already been in Bangkok a couple of days ahead, so when my cousin arrived, she just left her backpack in our room before we headed out.
There are plenty of things to do and places to visit in Bangkok. But we used this day to go shopping at MBK Centre and Siam Paragon. This is because we booked a TuktukHop for our Day 2 in Bangkok (more on this later) — this is a Bangkok travel hack you can use to see a lot of sights in a day (or two!) without spending too much in transport 😉 And by Day 3, we’d be on the morning train to Ayutthaya so there’s no time to shop.
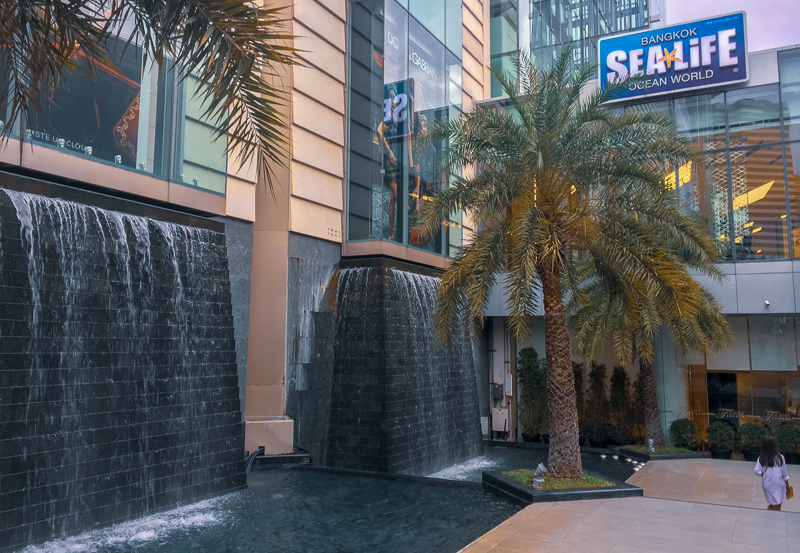
Bangkok SeaLife Ocean World
If you want to to shop for souvenirs, there are lots of souvenir stuff you can find at MBK Centre.. from the most common items like shirts, mugs, and elephant pants, to the uniquely Thai items you can only find in the ‘Land of Smiles’. It is, after all, a city famous for shopping.
If you’re stuck and don’t know what to souvenirs to buy, shirts and fridge magnets are my staple souvenir gifts to friends and family.
Day 2: Explore Bangkok’s tourist attractions
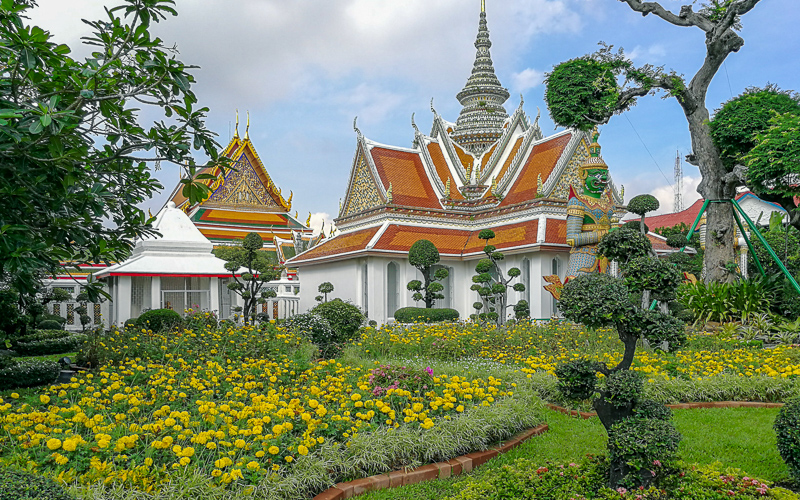
The Garden at Wat Arun, in Bangkok
Bangkok’s main tourist spots are quite a bit of distance from each other, and they’re not accessible via BTS (Bangkok Transit System) and MRT. You’ll be forced to take a tuktuk which charges a lot, especially if they know you’re a tourist. On my first visit to Bangkok, I was once quoted 150Baht ($4.75) for a distance of 1.5 km – I ended up just walking, in defiance, at such a rip-off!
But I found a way to visit Bangkok’s main tourist spots without spending a fortune on Tuk tuks 😉
“Tuktuk Hop” is like your hop-on, hop-bus bus, just more personalized. You just download the app, pay to access it for a day (8:30am-6pm), and then you choose your stops via the app. Free pickup within Central Bangkok. I first found it about it via Expedia on my first visit to Bangkok (I paid $15 for 1 day access). I loved it so much that I suggested it to my cousins, and they agreed!

Pad Thai for dinner, at Khao San Road
Where did we go?
- Ride the ferry to cross the river to Wat Arun, “Temple of Dawn”
- Ride the ferry back, then visited Wat Pho, Temple of the Reclining Buddha
(The Grand Palace is just right next to Wat Pho, but we skipped it ’cause of: (1) 500Baht entrance fee, (2) it’s packed with tourists (big Chinese tour buses), (3) it’s so huge that it’ll take 2-3 hours to explore) - Passed by the Giant Swing, on the way to Krua Apsorn for lunch (but since it was full), we ended up having lunch at another restaurant across the road.
- Walked to the Democracy Monument, dropped by the ASEAN Cultural Centre, and then walked to Rattanakosin Exhibition Hall
- Climbed up Wat Saket (The Golden Mount), for gorgeous view of the Bangkok skyline at dusk, then we asked to be dropped off at Khao San Road
Day 3: Day Trip to Ayutthaya, then night train to Vientiane

Inside a 3rd class Thai train
Check out of your Bangkok accommodation. Take the train to Ayutthaya at Hua Lamphong Station, which is right beside Chinatown.
We originally planned to take the 08:20 train arriving in Ayutthaya at 09:47am. But since our hostel only start serving breakfast at 8am (due to local labor laws) and we didn’t want to skip breakfast, we ended up taking the next one at 09:25am.
There are many ways to get to Ayutthaya from Bangkok, but we opted to take the train. It’s more comfortable than the bus, and the train station is accessible (it’s connected to the MRT station). You get to see the locals too!
Bangkok to Ayutthaya by Train: Important Things To Consider
– Most trains going north pass by Ayutthaya.
– Book a third class ticket (fan only) — it costs only 15 Baht!
– There are no reservations and seats are not guaranteed.
– You can buy the ticket 30 mins. before departure time.
*I tried to buy tickets 2 days in advance, but I was told you can only buy it on the day. You can’t buy it online either, unlike overnight sleeper trains.*
You can check the train timetable here, direct at the State Railway of Thailand website.
*Note: “Special Express” trains run faster, so choose it if you want to arrive sooner.
Once you arrive in Ayutthaya station, you can leave your bag at the baggage area.

At Wat Phra Si Sanphet, one of the temples in Ayutthaya — it’s HUGE!
Ayutthaya Station Left Luggage
You have to pay 10 Baht for EVERY BAG (no matter how big or small). In my case, I had a wheeled carry-on, a backpack, and a shoulder bag so I paid 30Baht in total.
Fair warning, they don’t have lockable lockers. The Left luggage area is basically just a storage room. You put your bags in the the cabinet and arrange it yourself.
I highly advise to lock your bags or have a small padlock for security reasons. After you sorted your stuff, they will get you a slip of paper you can use to collect your bags later.
Getting Around Ayutthaya
To explore Ayutthaya, you can rent a bike or get a tuktuk.
One word. Haggle.
Also, avoid getting a tuktuk right when you get off the train station — the price is a rip-off!
We originally planned on renting a bike, but it was so hot, we figured we might as well get a tuktuk and not physically drain ourselves by cycling. (Ayutthaya is huge! And the temples are spread around, not just clustered in one area.)

A row of Buddha images in Wat Yai Chai Mongkol (Ayutthaya, Thailand)
Ayutthaya tuktuk prices range from 200-300 Baht per hour, but we managed to find ourselves a driver that would tour us around for 900Baht for 5 hours (the guy said “till sunset”). We split the cost at 300Baht each. Though I gave the driver a tip at the end of the tour. 🙂
There are loads of temples in Ayutthaya! It’s just not possible to see them all in just one day. I highly suggest you do your research before, and choose just a handful of temples to visit. To read more about the places we visited and the most important temples to see, check out this guide: ::>> Ayutthaya Highlights: 5 Must-See Temples in Ayutthaya::
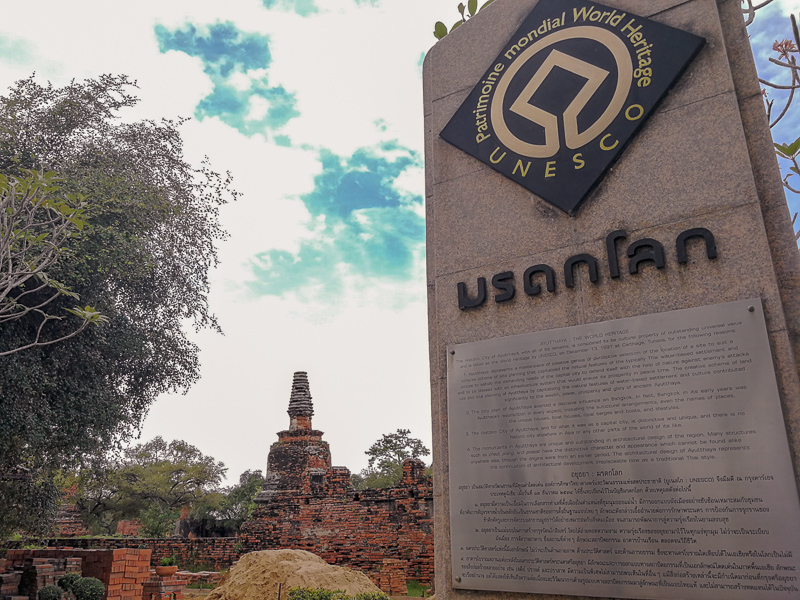
UNESCO World Heritage Inscription at Ayutthaya
After exploring Ayutthaya for an entire afternoon, we asked our tuktuk driver to drop us off at the train station. We had dinner at a restaurant near the station. We booked the 9:41pm sleeper train, so we had plenty time. Ayutthaya is quite dusty, so we took turns and had a shower. (Yes, you can shower at the train station toilet area. They have a cubicle with a shower. Shower costs 15Baht.)
Fair warning to digital nomads: The coffee shop and restaurant inside the train station closes early (I think 7 or 8pm?). I was thinking I can get some work done inside the cafe whilst waiting for our train, but they’re all closed. There are plenty of chairs in the waiting area, though. I encountered lots of mosquitoes so that’s something to consider (although when traveling in Southeast Asia, I recommend having a mosquito spray/lotion with you at all times).
Overnight Sleeper Train from Ayutthaya to Nong Khai (Laos border)

Overnight sleeper train in Thailand
Sleeper trains tend to sell out especially during high season, so it’s better to buy them in advance. You can book them online on the State Railway of Thailand website. There’s a 30Baht fee when booking online but that saves you the hassle (and cost!) of going to the train station. It also gives you the option to choose which berth you want.
Book Second Class with AC (unless you’re a couple and you want to have your own compartment with 2 bunk beds, then consider First Class) . It’s also available with fan, but I suggest going with AC as it’ll be quieter. Lower berths are 100Baht more expensive than upper berths. For Ayutthaya to Nong Khai, it costs us 972Baht for the lower berth and 872Baht for the upper berth (that’s just the ticket price, not including the 30Baht online booking fee).
Important Note: When booking online, you MUST PRINT the ticket.
Digital copies/photos on the phone do not count. When the conductor comes to check the ticket, they’ll require a physical copy. Be sure to have access to a printer.
The sleeping berths are quite comfortable and spacious (although if you’re a 6-footer, you might feel cramped). It has a electric socket (yay!). You’re given a pillow and a blanket too.
The 09:41pm train arrives in Nong Khai at 06:45am so there’s plenty of time to snooze and recharge! There’s breakfast being served on the train, right in your own seat. Meals cost about 60Baht, coffee 55Baht, and water at 20Baht, so a fairly standard price in Thailand (it was different from the breakfast I had when I took the train from Bangkok to Chiang Mai — it was a rip-off as I paid over 300Baht!)
Day 4: Explore Vientiane, Laos!

Patuxay Monument in Vientiane, Laos
The sleeper train stops at Nong Khai, which is the Thai border side. From there, you can take the train to Thanaleng station, in the Laos border side. Other transport options include taking a tuktuk to cross the Thai-Lao Friendship Bridge, and then taking another Tuktuk or bus on the Laos border to Vientiane. I’ve read somewhere that immigration queue can be long at the bridge so we opted to take the shuttle train to Thanaleng.
Taking the Nong Khai to Thanaleng shuttle train costs 20Baht. You also have the option to get a Nong Khai to Vientiane shuttle train + minivan transfer inclusive ticket for 300Baht, but avoid this one.
**TO DO: maybe get an image of a map Thai-Laos border and draw over??**
The shuttle train departs at 07:30am so you have about 30mins. to clear through Thai immigration and get on the train. This is more than enough time, considering very few people take this route. The immigration counter didn’t have a queue! We just breezed past through.
We got off in Thanaleng, filled up the Laos arrival card, then queued up for immigration (it was a short queue). At the counter, we were asked to pay 50Baht without explaining what it was for (just that, everyone paid). It certainly wasn’t for visa, ’cause we’re from the Philippines and, being part of ASEAN, we get a 21-day visa-free stamp. Apparently, there’s a $1 “overtime fee” when crossing the Laos border outside of regular working hours 08:00am to 04:00pm weekdays and anytime on weekends.
~ From Thanaleng to Vientiane ~
There aren’t much transport options. We only saw minivans there; there wasn’t even a tuktuk (maybe the others got to them first since we were last to leave the station?). We paid 200Baht each for the minivan, so 600Baht total, and the driver dropped us off at our hotel in Vientiane.
~ Check-in Hotel and Withdraw Lao Kip at the ATM ~
Since we arrived early morning, our rooms weren’t ready so we waited for a couple of hours for our room to be available. During this time, I went out to withdrawn cash from the ATM, got some stuff from the local minimart, and looked at the exchange rate (my cousin brought USD bills). With the help of the hotel staff, I also bought a Lao data SIM (30,000 Kip for 1.5GB) and booked the minivan to Vang Vieng for the next day.
Thankfully, our room was available at around 10am, and the hotel let us check in early for no additional cost. After resting for a bit and showered, we then ventured out to have lunch and explore Vientiane.
For more detailed info on our Vientiane 1 Day itinerary, check out 24 Hours in Vientiane.
Navigating Laos: Minivans vs Bus
Day 5: Minivan to Vang Vieng
We took the morning bus (they call it bus, but it’s really a minivan) so we have more time to explore Vang Vieng. The ride was a bumpy one, full of potholes! Since we were the last to get picked up from the hotel, we had no option but to sick at the back of the van — not great for bumpy rides! Oh well, c’est la vie!
Vang Vieng is a small town. The drop off area was near the hotels and guesthouses. I took my phone out (our hotel’s location was saved on Google Maps app), and followed direction. We walked for about 5-10mins.
TIP: Always save an offline map on your phone! Although it’s nice to get lost once in a while, I’d rather not get lost when I have bags in tow.
After checking in to our hotel (which has a really nice view!), we went out to have lunch and then looked around for the best deal on the sunrise hot air balloon ride. Since that’s most likely be finished before breakfast, we looked for other activities we can do for the rest of the morning. Trekking wasn’t an option as it can easily take a day. Most trekking tours are overnight, exploring caves and waterfalls. We opted to do an introductory rock climbing course for 4 hours which costs 150,000 Kip ($18.75).
Day 6: Explore Vang Vieng in the morning, then mini van to Luang Prabang in the afternoon

This is how Vang Vieng looked like from above. Riding a hot air balloon gives you a great vantage point! 😉
The highlight of our trip! My cousins and I were blown away by the beauty and serenity of being up in the air. For a more detailed account of our experience with Balloons Over Vang Vieng, go read this post: How to Ride a Hot Air Balloon in Vang Vieng, Laos (And Why You Should!)
The ride took about an hour and half, and we were back at our guesthouse by 8:30am. We had breakfast, then got ready for rock climbing. There was no late check-out option, so we had to pack our bags and left it at the reception. Our guide picked us up around 9:15am, then we went to his shop to get our climbing gear.

Here’s me trying to climb the last (and hardest route!).. and getting frustrated.. Haha 😂
The climbing site was just a short ride from the town center. Our rock climbing course was supposed to be until 1pm, but we left early. We were tired, got a few scratches and bruises, and we couldn’t even climb the last course (it looked easy but it was the toughest!). We went back to our guesthouse, had lunch, and then waited for our bus (or rather, van) to Luang Prabang.
>> Here’s a detailed review of my experience: Rock climbing in Vang Vieng
After a tiring but well-spent day in Vang Vieng, we took the 3pm bus. This was a scenic ride, much better than the one we took from Vientiane to Vang Vieng. We arrived in Luang Prabang past 7 in the evening, and checked in to our guest house which is just right next to the night market.
Day 7: Explore Luang Prabang
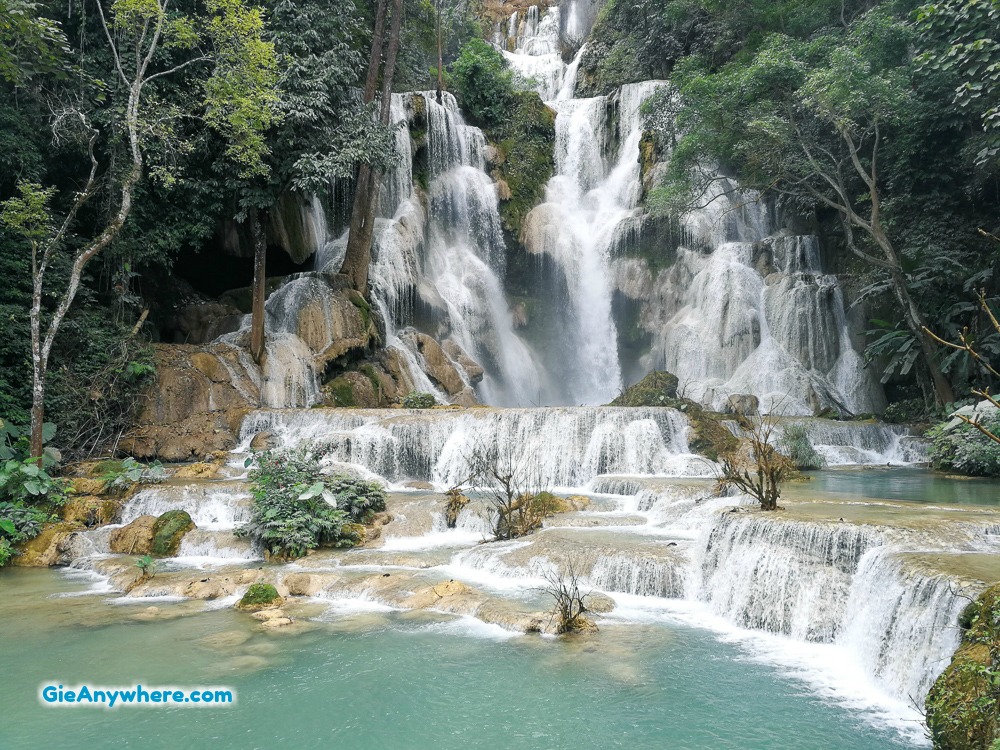
Kuang Si Falls in Luang Prabang
In the morning, we went to Kuang Si waterfall. With its turquoise blue waters, a trip to Kuang Si falls is a must when in Luang Prabang. It’s actually a network of waterfalls and not just one big waterfall. It’s about a 20 to 30-minute ride from the center of Luang Prabang. Some people rent a scooter/motorbike to go there. I don’t recommend using a bike/bicycle as it’s way out of town.
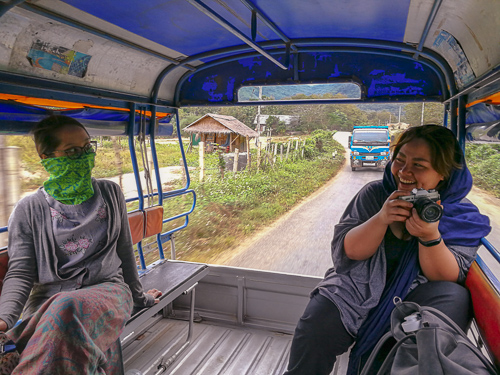
Inside a TukTuk going to Kuang Si. The road was dusty! It was chilly when we went (end of November), so wore layers.
There are two options going there:
- Minivan (join in tour) – Perfect for solo travellers, this round trip transfers via minivan departs from Luang Prabang at 11:30 in the morning and 1:30 in the afternoon. Those are the only times available so it’s not very flexible. It costs 50,000 Kip per person.
- Tuktuk – if you are a group of 3 or more, it makes more sense to hire your own tuktuk. Prices start at 240,000 for 1 tuktuk. That was the cheapest price I could find. Since we divided that by 3, so it costs us 80,000 Kip each. It was more expensive, but we had the flexibility in terms of schedule and we can go back to Luang Prabang at anytime.
There’s a bear rescue center near the entrance. We spent a few minutes there looking at the black bears. Tat Kuang Si complex is huge – it’s like one big natural park! We hiked up the waterfalls on the left side, and went back down on the right side. It was quite a hike!
Some parts of the walking path were challenging, but we saw people both young and old going up there. One middle-aged woman even overtook us on the way up (I got out of breath easily! Blame it on my sedentary lifestyle 😂) We easily spent over 3 hours just exploring the place.

Bear Rescue Centre inside Kuang Si
We chose to visit Kuang Si in the morning so we have the rest of the afternoon to explore the UNESCO World Heritage Town of Luang Prabang.
Back in Luang Prabang by 2pm, we then had lunch and we set off to explore the town. You don’t need to take a tuktuk to explore the town. It’s very walkable. You can get from one side of town to the other in a span of 30 minutes! If you prefer not to walk, you can choose to rent a bicycle instead.
There are many wats (temples) in Luang Prabang, all within walking distance from each other. I think we only went to a couple of significant ones.
In the evening, we went to the Night Market.
Day 8: Flight from Luang Prabang to Hanoi
There’s a bus that takes you from Luang Prabang to Hanoi, but since we’re short on time, we chose to fly.
It’s a short flight (just an hour????)
Day 9 & 10: Halong Bay 2-Days-1-Night Cruise
There are cheaper options.
Day 11: Explore Hanoi, then fly out in the evening
BUDGET:
Check out this spreadsheet on how much we spent for the entire trip (not including the flight in to Bangkok, and the flight out of Hanoi).

